Introduction
Degreasing is a chore nobody loves but it has to be done nonetheless, especially if you’re a foodie. The grease buildup after you’ve cooked a hundred or so meals can be hard to look at. You keep on postponing the date you decided you’d give your kitchen a facelift, but you can’t postpone things forever. If you’re uncomfortable with dealing with the dirt and grime that’s left behind after meals, try searching for “home cleaning services near me” for affordable and reliable cleaning services and give them a call. But before you do so, here are a few tricks to help all the DIY enthusiasts out there.
The Process
- Cleaning pantry doors– Pantry doors can get quite spotty, especially if you do not wipe them after two to three meals. Days or even months of oil build buildup is way harder to clean off in most appliances, so start early. Make it a habit of degreasing your kitchen items daily so that you do not end up scraping oil off your kitchen utensils with a chisel.
In the case of pantry doors, a really neat trick is to use a bowl of liquid soap or hard-to-remove castile soap and a microfiber cloth. Take a mixing bowl and add some warm water to it. Now add two to three drops of dish or Castille soap to it. Soak the microfiber cloth and wring it until it’s dry completely. Always wipe in a specific direction and never in a zigzag motion. Repeat until you get rid of any remaining spots.
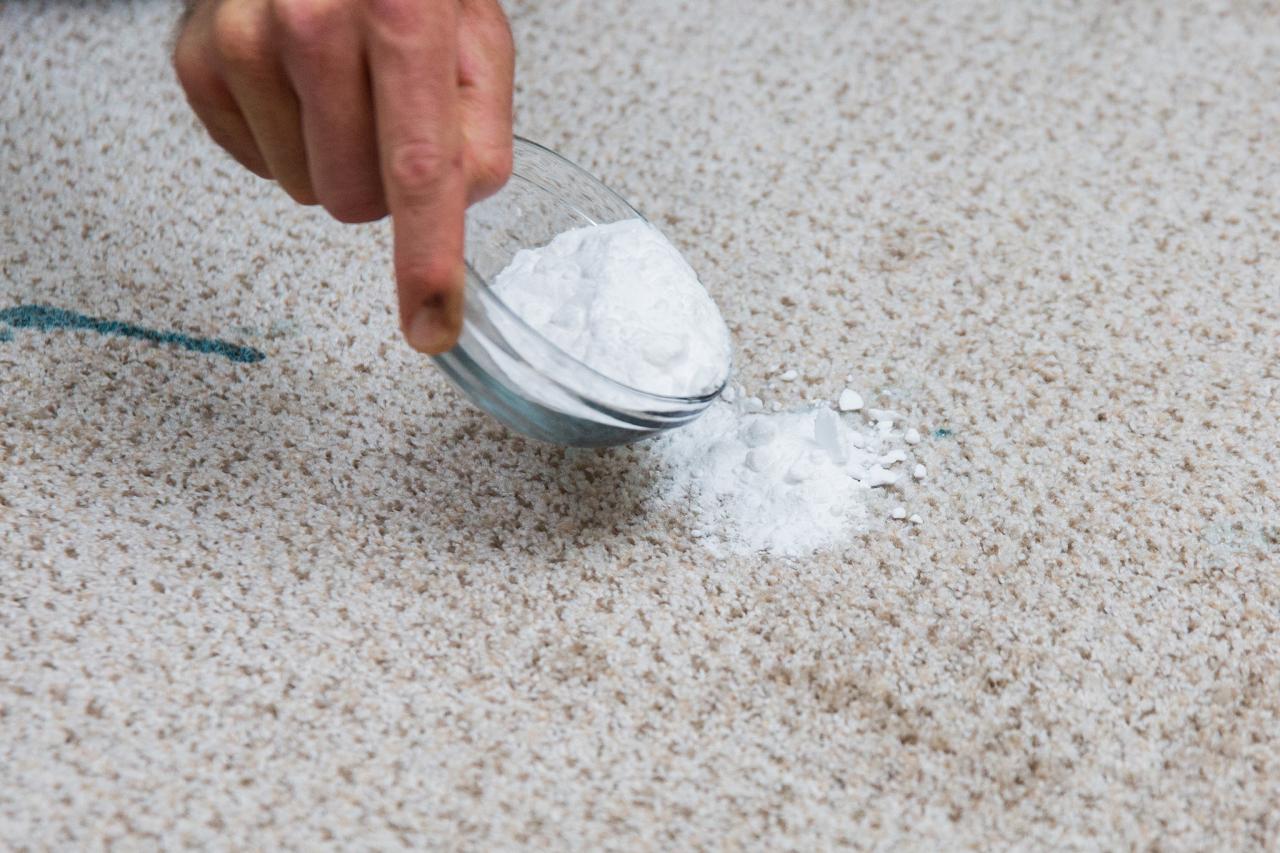
- How to use flour for cleanups– The irony, in this case, is off the charts. Who thought you could clean up grease with something that creates it in the first place? Flour is a great soaking agent that can easily clean off accidental liquid spills. You may find this process to be a bit wasteful, but it’s a quick and easy way, especially if you do not have any cleaning equipment nearby.
However, this trick will only work if the grease spill is still wet and has not gone all sticky. Sprinkle a handsome amount of four all over the mess. The flour will absorb the grease particles and you can then proceed to wipe it off with little to no resistance. However, make sure the thing has cooled down before touching it, otherwise, it will stick to the cleaning equipment.
Flour works best for wet spills. However, if it begins to dry, the flour will be ineffective, and you will have to try something else.
- Cleaning your microwave– Microwave is something you cannot simply clean off with flour. It’s one of the trickiest pieces of equipment to clean off effectively. Most people tend to ignore things they can’t see, and the microwave is one of those things. You keep ignoring it, until the smell hits you like a truck, almost knocking you on your feet.
There are several steps to cleaning a microwave. The grease inside has dried up pretty nicely and the only way you are scraping it off is with a long-drawn-out battle. Begin with filling a microwave-proof glass bowl with tap water. Drop two-three chunks of lemon inside and place everything inside the microwave and set a timer for five minutes. The lemon-soaked stem is the primer and will somewhat loosen the grease particles for what comes next. Wear gloves before removing the glass bowl after the 5-minute mark. It’s time to get elbow deep into the microwave. Although some people use vinegar and baking soda, liquid soap works best in such cases. Take a bowl of water and a few drops of all-purpose cleaner. Next, take a scrubber and keep singing the interior for 10-15 minutes.
Depending upon the grease residue and size of the microwave, the entire cleaning process takes you somewhere between 15 mins to 1 hour. Start with the zigzag motion and change over to a single-directional sweep during the last 10 minutes. Your microwave may not look as clean as the day you bought it into your home, but it will look far better than before.
- Baking soda and water– Although baking soda and water are not that effective on microwaves, they are more reliable cleaning materials than you think. Baking soda is an all-purpose cleaning material and is used to clean off copper tarnishes, countertop coffee and juice stains, hard to remove grease (not too old), and discolored stainless steel items.
It’s effective because of its alkaline properties. Baking soda can dissolve grease and since it’s a mild reactant, it doesn’t harm your skin or destroy the surfaces of your household items. To create the perfect cleaning solution, mix three to five tablespoons of baking soda with one cup of water. Submerge a song or a scrubber (not metal ones) and wring it until it’s partially dry. Now lather up the entire surface and keep rinsing.
Remember that baking soda is only good for light grease stains. In case of more resilient stains, you will need to follow up with another cleaning liquid, such as liquid soap or all-purpose cleaners.
- Cleaning overhead exhausts and filters– Grease accumulation in the exhaust is quite bad, even worse than microwaves. You’d have to remove the filter and soak it in warm water filled with natural bleach for up to an hour. For the exhaust, you’ll need a vegetable-based cleaner and enzyme-based cleaner like KrudKutter. Let the cleaner sit for an hour after application and let the enzyme do its trick. Afterward, rinse off the grime with a clean rag.
Conclusion
Grease removals are exhausting, to say the least. You never know how long you have to soak an item or rinse them to clean off the grime. Sometimes the grimes mixed with the cleaning equipment can give off toxic fumes which cause breathing problems. So, it’s best you seek professional help and don’t DIY the entire thing. Google “home cleaning services near me” and let the experts handle everything. They not only have the right cleaning equipment but also know how to take precautions in potentially hazardous situations.